Smoking a joint is the most iconic and accepted methods of consuming cannabis, made popular in movies and TV shows decades ago. As one of the oldest and most popular ways to get high, joints are widely enjoyed for a few reasons. Joints hold high status in weed culture, but they’re also easy to store, transport, and consume – all you need is a lighter.
Pre-rolled joints can be purchased from your local dispensary, which is by far the most convenient option when you’re on the go. But if you’ve got some cannabis at home and you’d like to control the amount and type of product in your joints, hand-rolling is the way to go.
In this article we share everything you need to know about joints, including their anatomy and materials plus rolling and lighting techniques.
The Anatomy of a Joint
The joint is made up of three simple materials – a paper wrap, filter, and cannabis.
The rolling papers are extremely thin pieces of rectangular sheets, made from a range of materials including hemp, rice, and flax. All rolling papers will have a thin strip of glue along one long-side edge that will aid you with the final roll. You can even buy flavoured rolling papers if you want to mix things up.
The filter – also known as a mouthpiece, plays a couple key rolls in the joint rolling and smoking phases. Especially if you’re a joint rolling newbie, the filter will be a big help when rolling, as it will prevent cannabis from falling out of one side of the joint. And when rolled, the filter serves the same function. Without a filter, hitting a joint and sucking air through it will leave you with bits of weed in your mouth – that’s no good. Finally, the mouthpiece does as its name suggests – it allows our mouths something to grab onto when smoking. Filters can be purchased at your local dispensary, but they’re also easily cut up and rolled from a thin cardboard box laying around the house. Aim for half an inch wide and one inch long, then fold it into an accordion before rolling into a cylinder-shaped filter.
Last but not least is the cannabis. By far the most important component, there are a few best practices to follow to make sure you get the best smoking experience.
Some Brief Science
The cannabis flower hosts the active ingredients for the vapor we inhale, but that vapor is not created where you burn the joint. Instead, where you light the joint is simply the burn source, which then heats the cannabis in the joint when air passes through it, delivering THC and terpenes before reaching the mouth. That’s why having the correct airways is critical.
How to Roll a Joint
Rolling a joint yourself will definitely take some practice. At first, you’ll probably notice your joints aren’t very firm and don’t smoke evenly or consistently. A lot of the problems you’ll run into can be solved with your rolling technique.
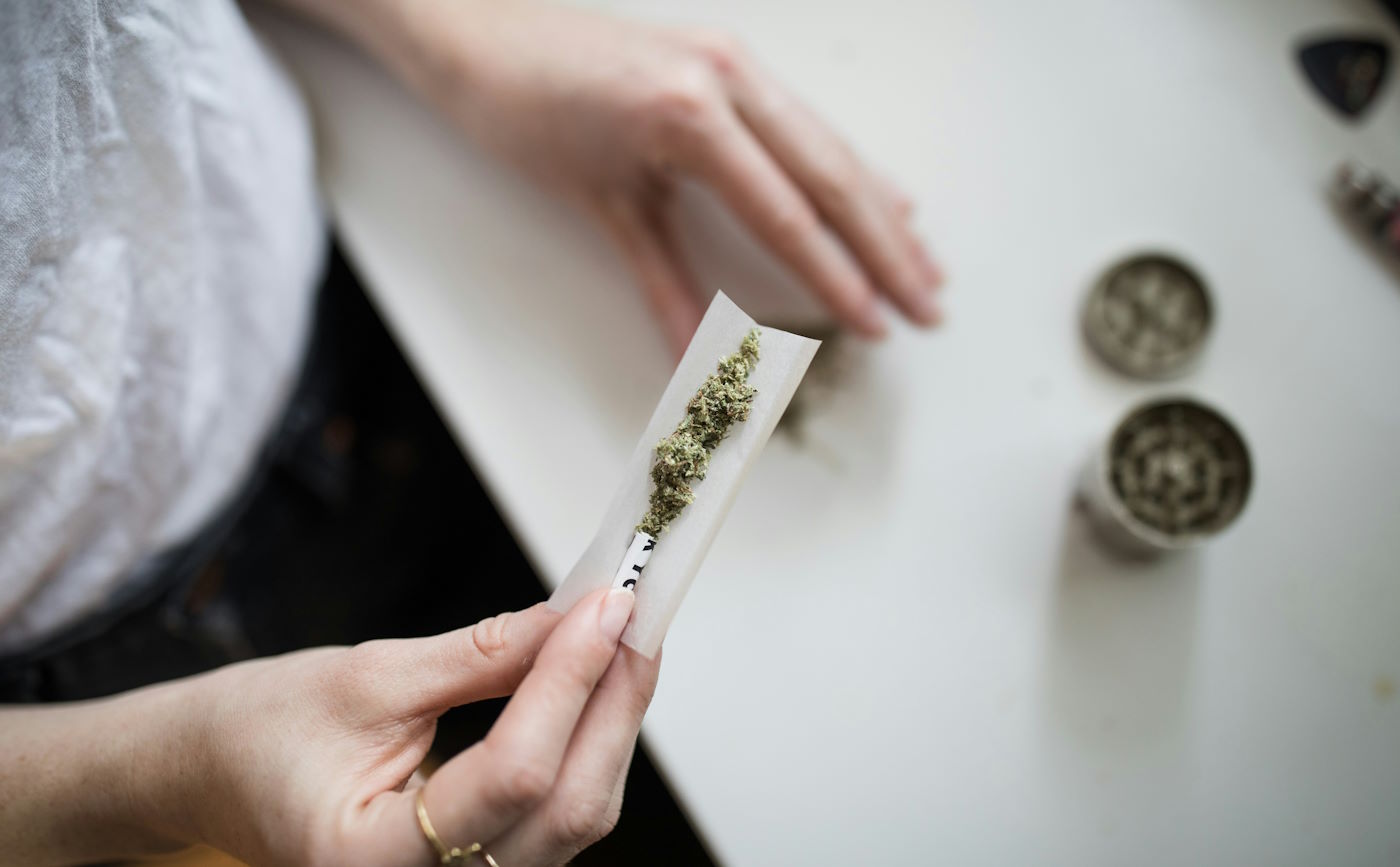
To start, you’ll need to break down your cannabis using a grinder, but your fingers will work if you’re empty handed. You’ll want to make sure the cannabis is broken down into the right texture – this is where it’s easy to go wrong. If it’s not broken down enough, your joint will be too lumpy and air will flow too easily, while if it’s ground too much your joint will be packed too tight and tough to hit. Your cannabis should be broken down thoroughly without being dusty. After that, be sure to pick out seeds and stems.
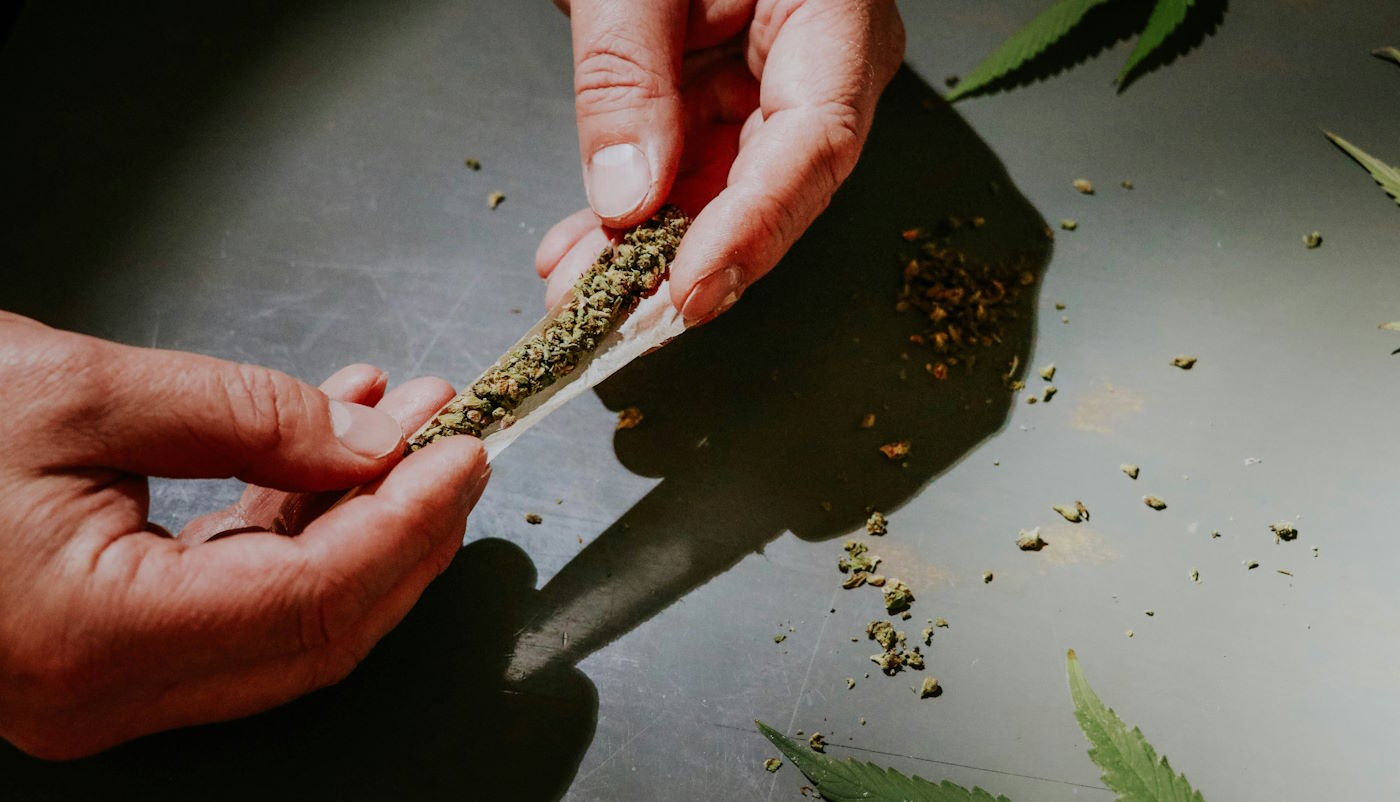
Now it’s time for the tricky part – rolling the joint. It will help to have a clean, flat surface or ideally a rolling tray to hold everything in. Lay your paper flat with the filter centered on one side and sprinkle some cannabis down the centre of your paper from one end up to the filter. Once you’re satisfied with the amount, pick up the joint and begin lightly packing it down with your index finger. It will help to pinch both ends of the paper and roll it back and forth to force the cannabis into the centre. Now you’re ready to wet the thin glue area and begin rolling.
This will take some practice. Fold the side nearest you over the line of cannabis, tucking it underneath and carefully rolling it around until the joint is sealed. Then, grab a pencil or something long to push in the open end, leaving a nice gap that’s at least half an inch. Then simply twist the excess paper to seal the gap, and your joint is finished.
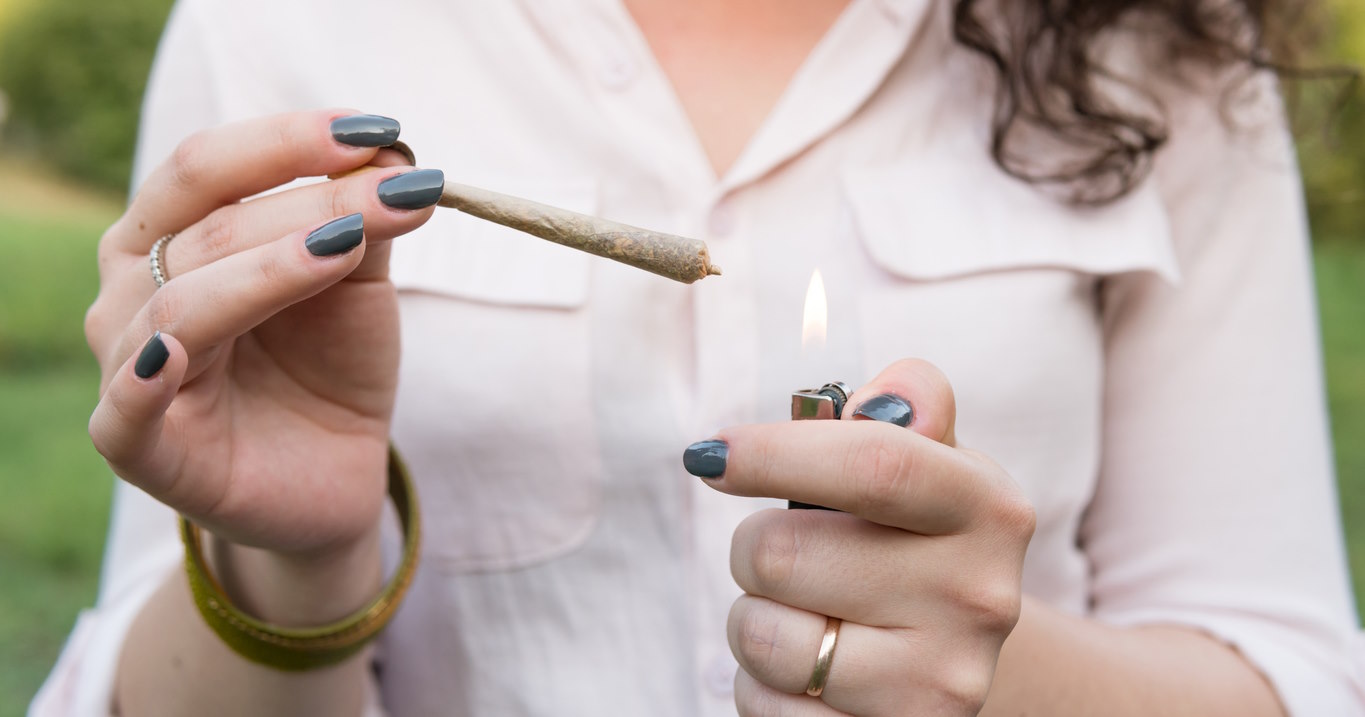
Lighting a Joint
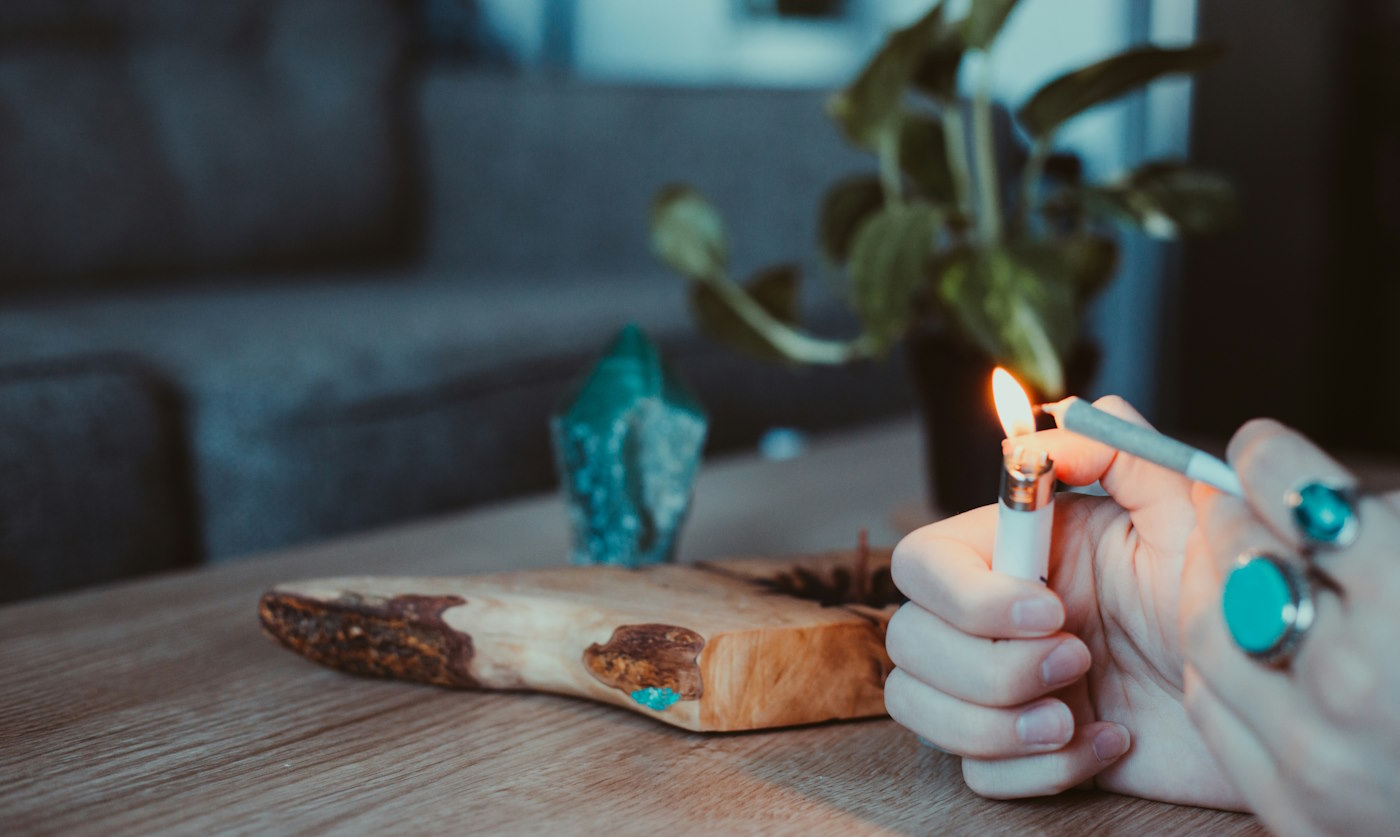
You could roll the greatest joint on the planet, but if you don’t light it correctly, it won’t burn well. It’s well worth it to know exactly how to light the joint in order to get a nice consistent burn. There is a wrong way to do it, and it usually looks like holding the joint in your mouth, lighting up, and smoking it like a cigarette. This can result in a joint that burns faster on one side than the other, an issue known as “canoeing”, which leads to you inhaling burnt smoke (yuck) and wasting a good amount of weed.
To get started, take the joint out of your mouth and hold it between your thumb and index finger. Light the very end of your joint – the section of paper that is twisted up without any weed in it. From there, tilt the joint so the first bit of cannabis can begin to burn. Then twist the joint around in slow circles so all sides can burn evenly. Once the tip is glowing red all the way around, you’re ready to start smoking.
We hope this joint rolling guide has been helpful, but if you’re struggling to roll a satisfactory joint, head over to your local Cheeky’s Cannabis dispensary to pick up some expertly pre-rolled joints. We’ve also got edibles, flower, concentrates, and all the accessories you’ll need. Stop by our Maple Ridge or Kitsilano location and get help from our friendly staff or browse the online shop.